Grand Challenge Initiative
Designing a Cost Efficient Solar Paneled Light Source for Developing Countries
Chapman Grand Challenge Initiative (GCI)
In short, GCI is something every STEM major at Chapman goes through, where we spend a few semesters identifying, brainstorming, and acting upon a grand challenge that we see in the world
My group decided on a cost effective light source for developing countries
I'll cut to the chase and get to the building part, because thats what we're here for, and the area that my contribution was towards
The Build
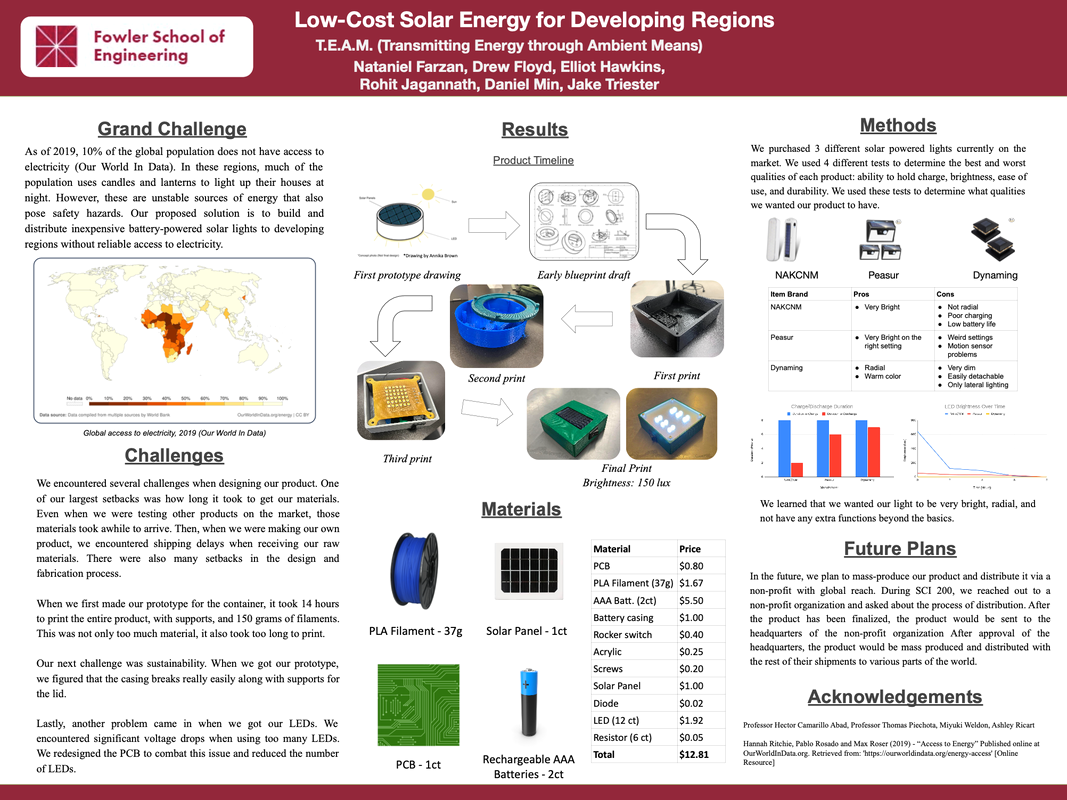
So this was the final product, but it took a few months to even get to that point
The whole idea is that it uses these main components to get the job done:
- Solar Panel
- Rechargeable Lithium ion batteries
- LED's on a custom PCB (+resistors)
- Rocker Switch
- 3D printed housing
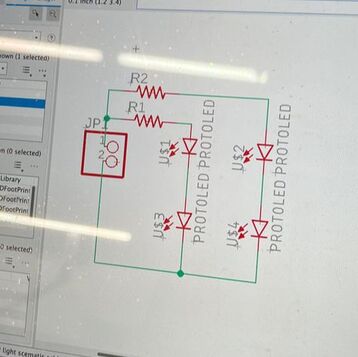
The circuit would follow this simple test print that I designed in Eagle to get power to the LED's. This is a simple concept design of the circuit, and the final version would have much more LED's
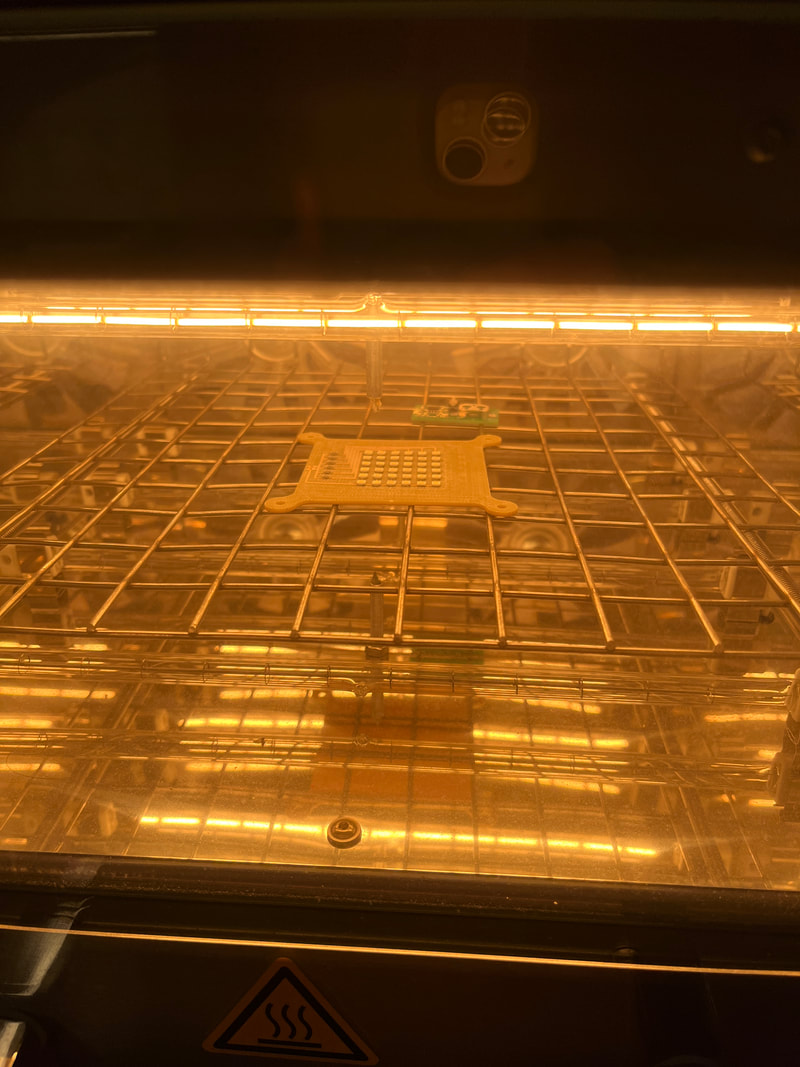
Our first version looked like this, to get the small components on the board I used a layer stencil, made by a LPKF U4 ProtoLaser, to put solder paste where the components would be, placed the components, and used an LPKF Protoflow S4 (which is kind of a fancy oven, but just for electronics) to essentially harden the paste to stick the components on
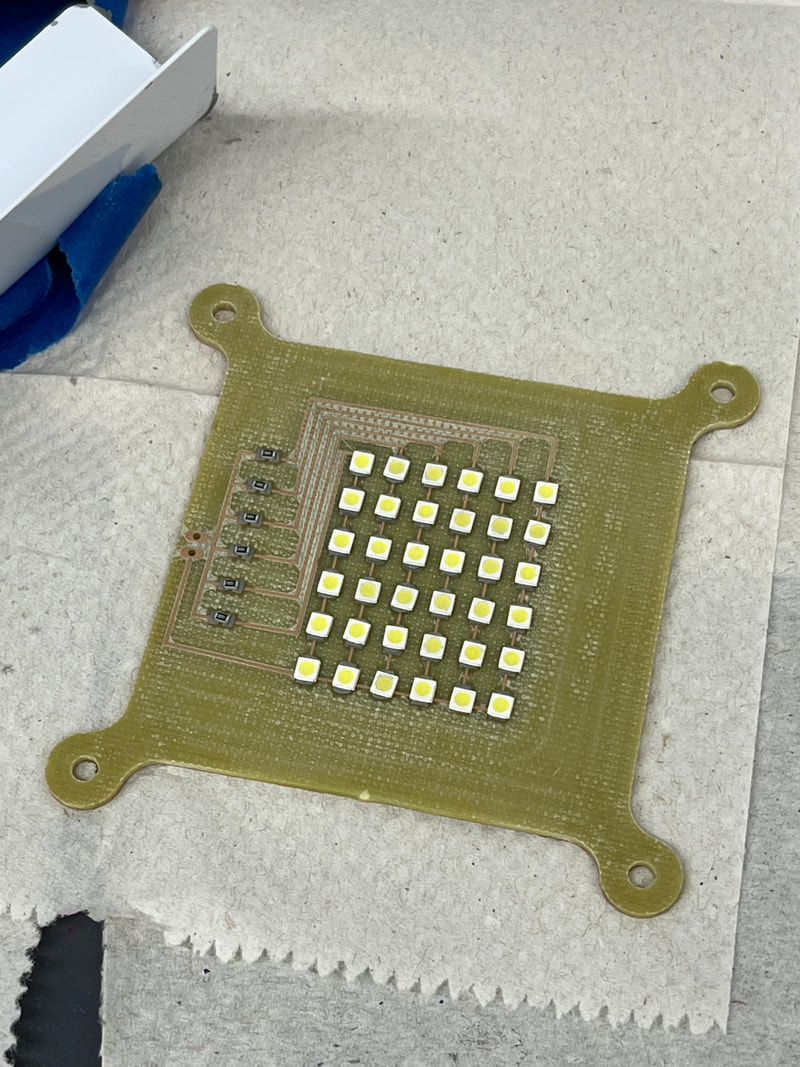
The reason why the PCB has this odd shape is because of the housing, which our first version used about 150g of filament and looked like this:
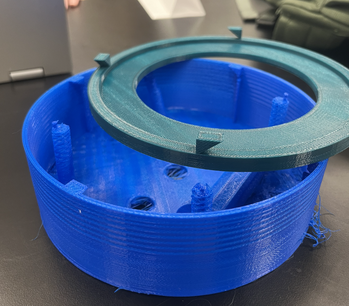
The idea behind it was to have it circular so that the top would "screw" on, and have enough housing for the electronics
The problems?
- used too much filament
- sliding mechanism wasn't working too well without using more filament
- the PCB ended up not working...
So we scrapped the whole thing and started over
The Return
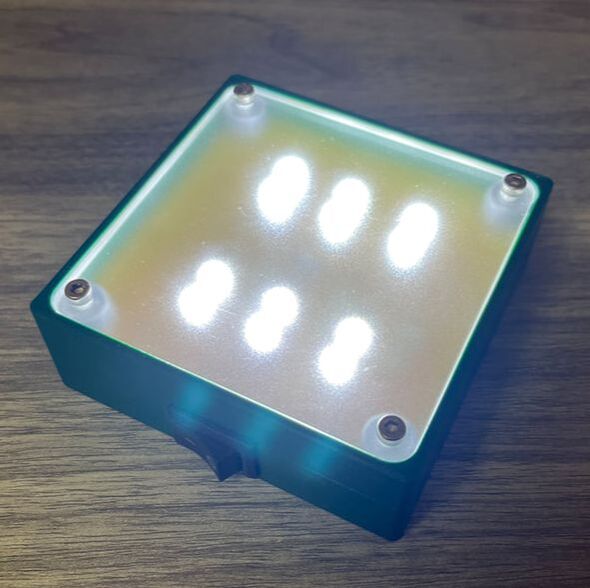
First was remaking the housing so that we had just enough space for everything. We also changed up a few of our components as well so that everything would be smaller
So here is the newly designed PCB side by side with the old one, with the new housing with the old PCB in it (and it only used 37g of filament!)
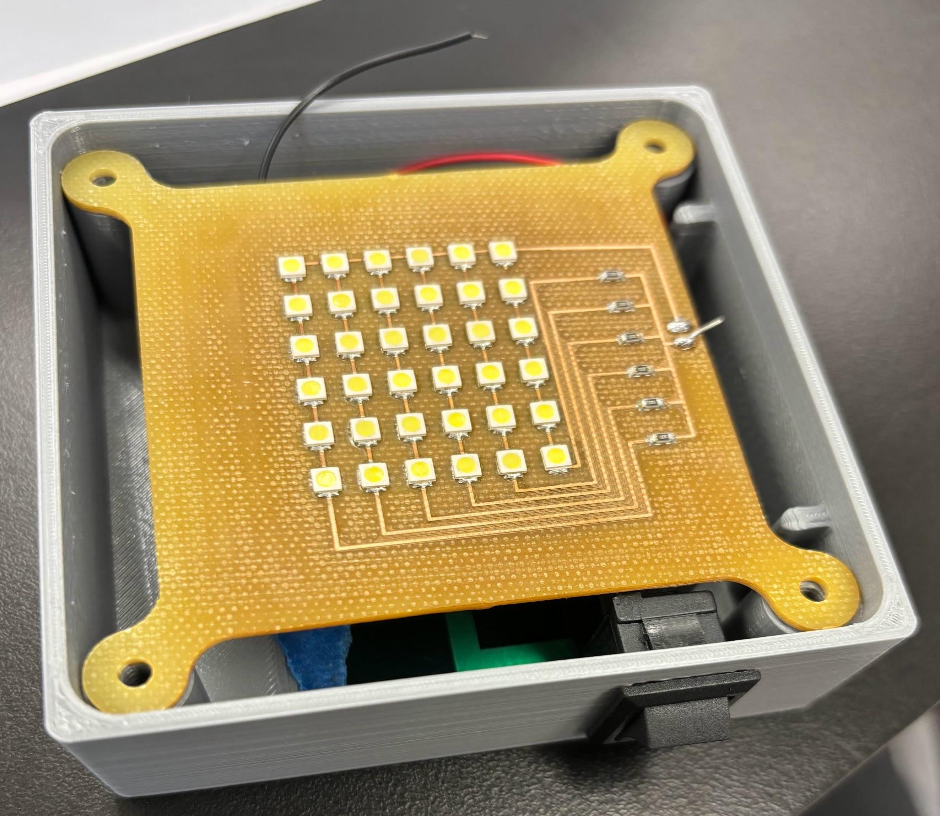
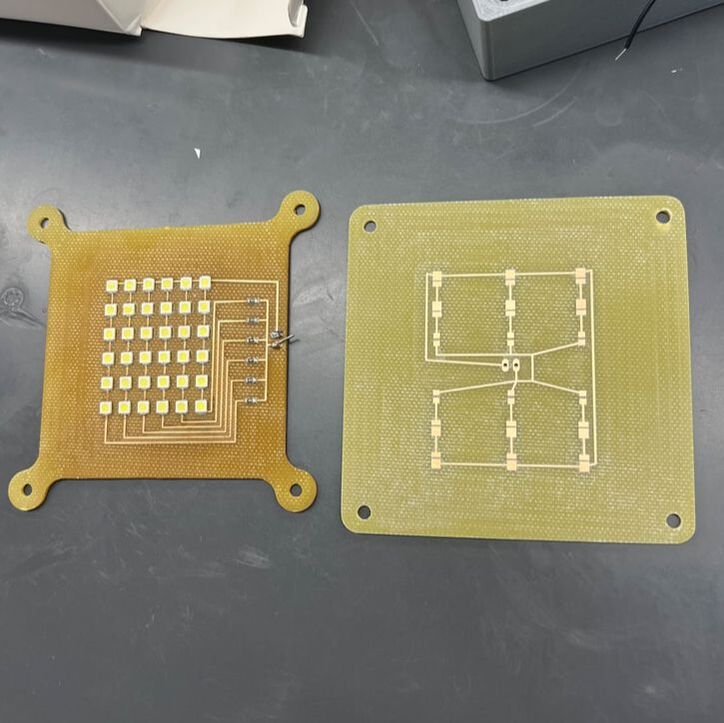
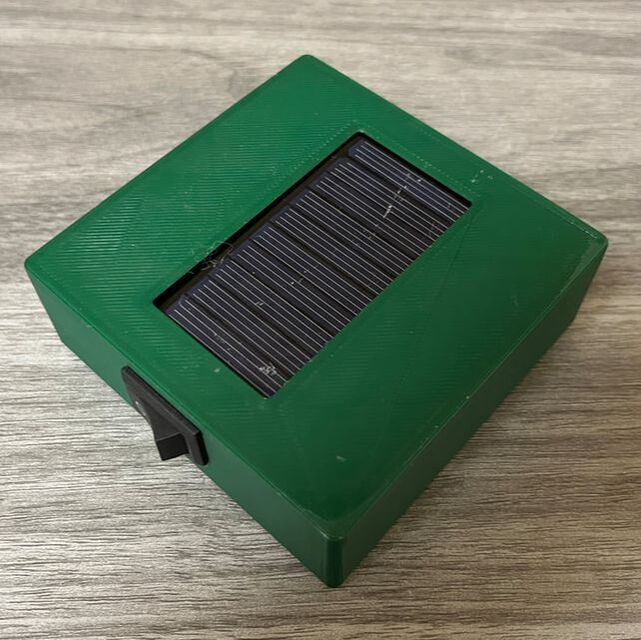
The idea was that now there is less LED's but more spread out, and would match the output of the battery better. Plus, we added a hole where the wires go for the PCB so that we can simplify the PCB design as well
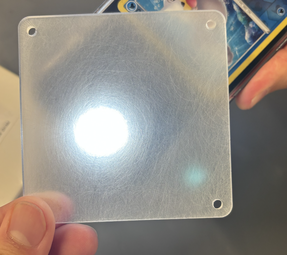
Our final step was to test and find which acrylic worked the best with diffusing the light
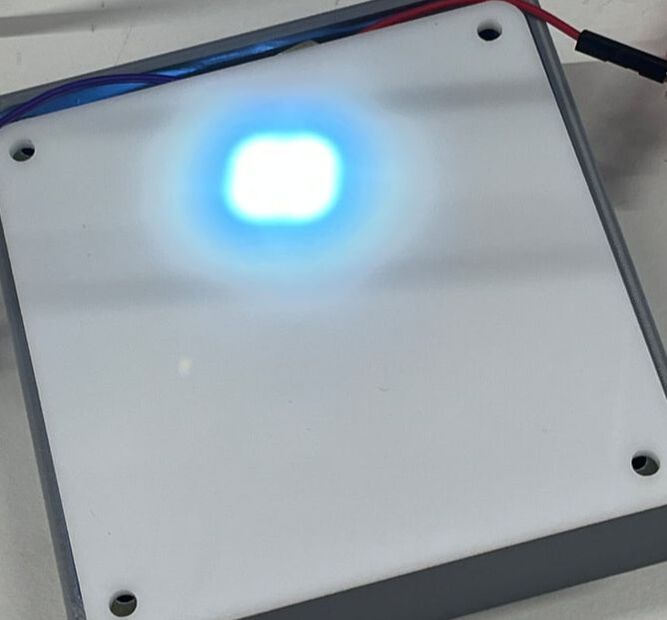
Final Product
After some minor tweaks of the casing itself, here is the final product
The functionality is simple:
- When the solar panel is placed on top, it charges the lithium ion batteries
- When the rocker switch is turned on, it connects the solar panel and batteries in parallel, and feeds them directly to the PCB, where there are resistors to regulate the incoming flow, and of course the LED's
- To make sure that current does not flow back into the solar panels, a diode is placed to make sure the current flows in one direction
Is it bright? YES, it is very bright and can easily light up a room
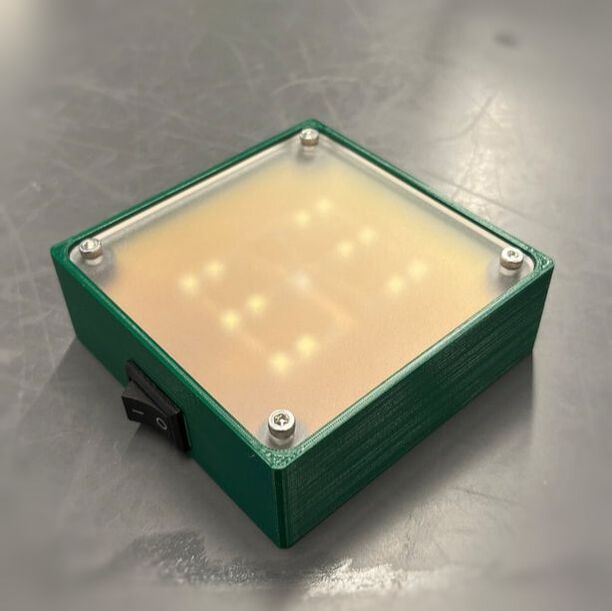
For more information about our project, here is our poster that we presented for the Chapman GCI showcase