Useless Box and Workshop
Created a Useless Box and streamlined the process for students to make their own in a 2-hour workshop lead by me
This might sounds very useless... but actually is a box of pure enjoyment or annoyance, depending on who is using it
Working at the Design Create and Innovate (DCI) lab at Chapman University has opened the opportunity for me to build unique and fun projects to not only design and work out until a finished product, but also to teach others to build their own
This means that if the project is boring, complicated, or just weird, no one will come to my workshop...But not this one! I had a great turnout and everyone had great fun building their own useless box
The Process
This project started back in January of 2024 when I was tasked with creating a workshop for my job at the DCI maker space. All staff members are tasked with this and are given about one semester to create something. After a few ideas I landed on the useless box, and instantly knew that this was the perfect project with the right amount of complexity to humor ratio where people would love it (and they did)
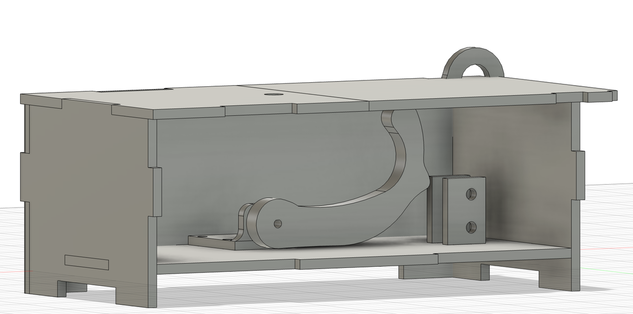
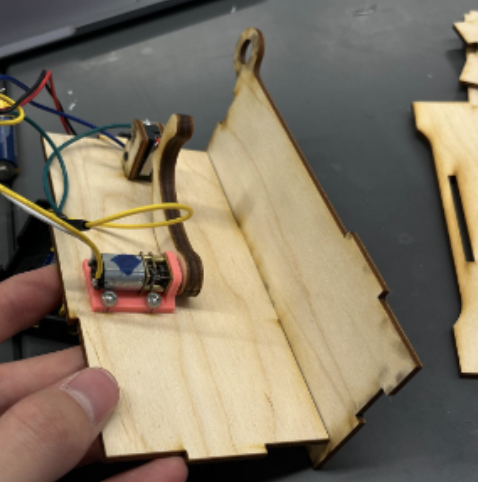
First I needed to model it to get a good sense on what I am making, I knew I was going to use 1/8th inch plywood for the housing, 1/4th inch plywood for the "arm," and the "motor holder" (which is the flat piece behind the arm in the photo below) was going to be 3D printed
After much prototyping of the motor holder and arm designs, below is the 2nd to last CAD model for the box. I couldn't find the very final one for some reason, but this one gets the point across. It is also missing the side on purpose so that you can see inside the box
The Circuit
Whats really cool about this box is that people always ask me questions such as "is it off an Arduino?" and "whats the logic of the code?", then I hit 'em with the "There is no code" and everyone becomes very confused on how I did it
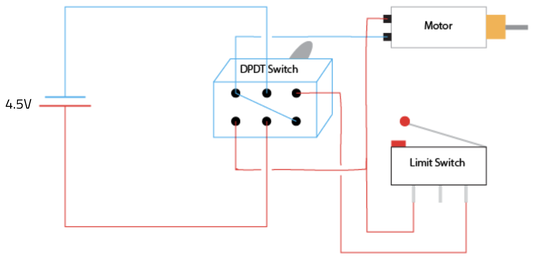
Well the simple answer is the use of a Double Poll Double Throw (DPDT) switch. Thinking about the basic function of this machine, all that needs to happen is:
- when a switch is "flicked" a motor needs to turn, moving the arm to contact the switch and "flick" the switch
- the "flick" of the switch would reverse the polarity of the motor and the motor would move in the other direction
The other conditional things that need to happen is:
- when the motor retracts back into the box, it needs to contact a limit switch that would cut power to the motor so that it doesn't keep trying to move into the box which would ruin the box
- this limit switch needs to be bypassed when the switch is "flicked" by the user so that the process starts over again (first bullet point)
Keeping all of these bullets points in mind, this is a rough but clear design of the circuit itself. It utilizes the DPDT switch as the "hub" of operations, sending power where it needs to based on the position of the switch
Making the Box and Assembly
The wood was laser cut off of a Universal Laser Systems laser cutter, and I took the files I made from Fusion to cut out the wood in the right shape

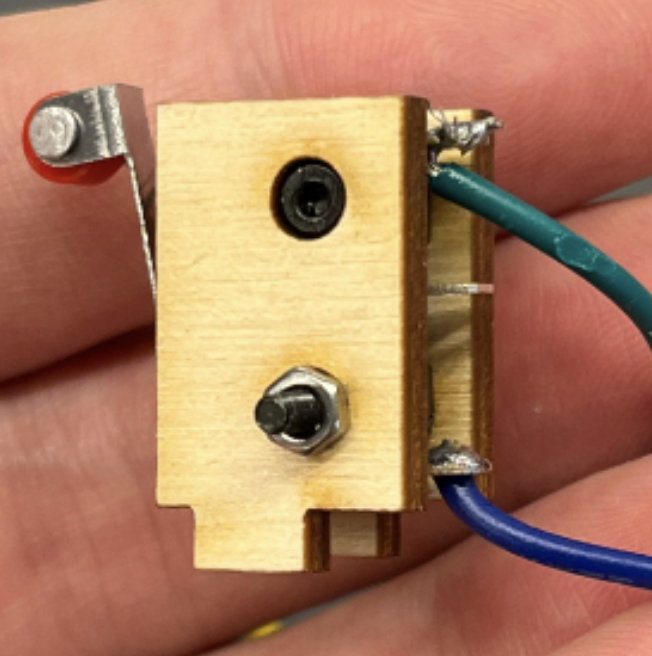
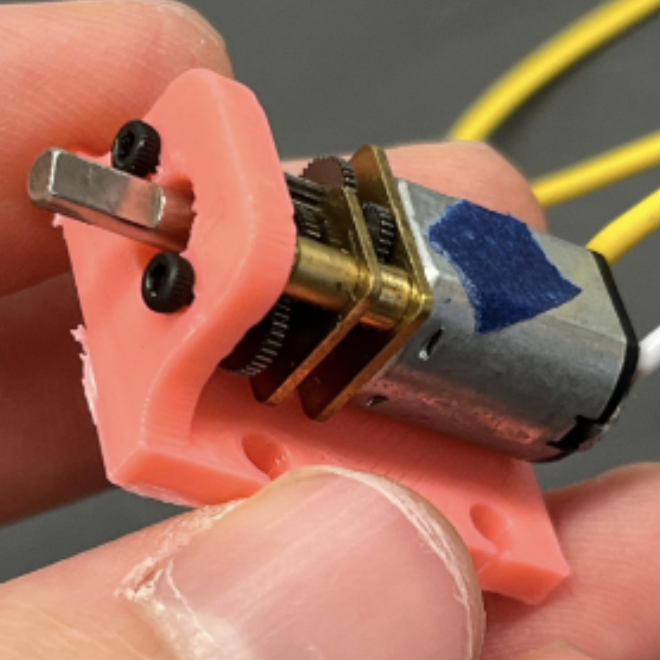
I left out the soldering, these next photos are just to document the process of assembly

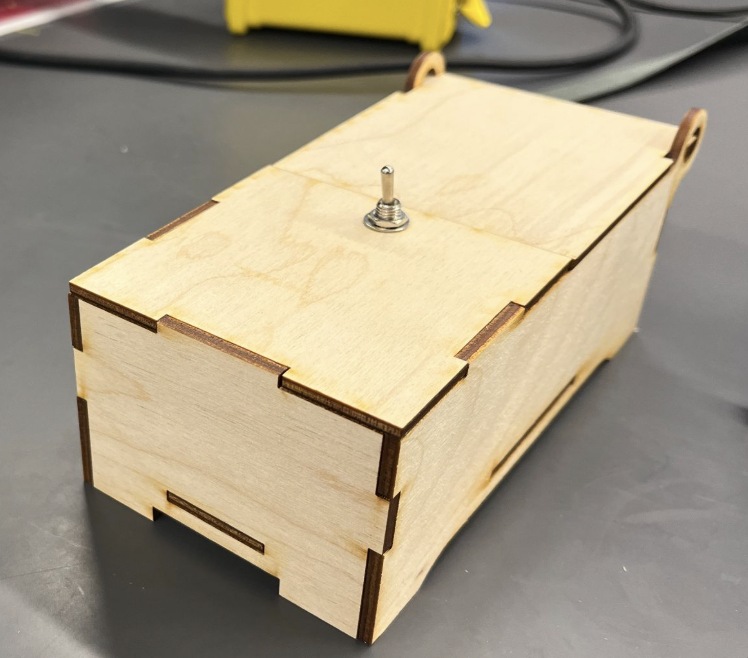
The Final Box
The Workshop
The final aspect of course was the workshop itself. So I had to make many kits to make these useless boxes, and during the workshop I taught how to put everything together, how to solder, and assemble the box itslef. Everyone really enjoyed it and it was a great workshop!
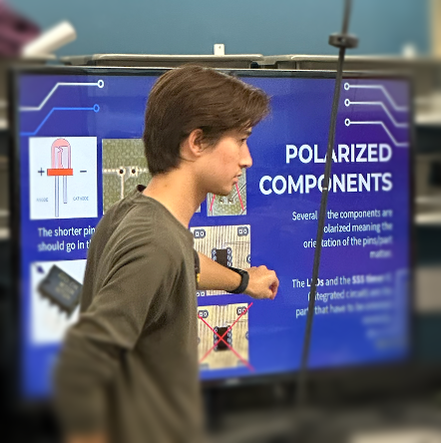
Note: this isn't me teaching the Useless Box workshop, I was teaching a different soldering workshop we have at the DCI lab at Chapman